
Using Glue to Match Seams

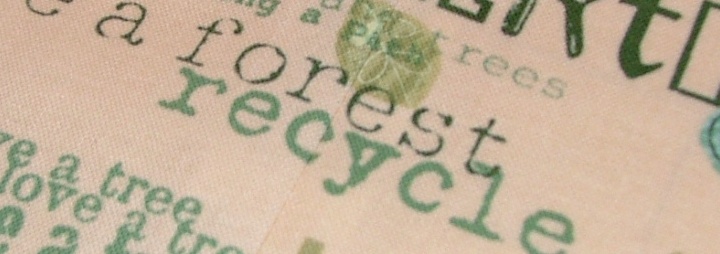
Close-up
Karen brought over a quilt top with a real "Go Green" theme to it.
She found the fabrics at Timeless Treasures, and I'm sure her daughter will love this one! The backing fabric needed to be pieced together, so I thought I would take pictures along the way so you could see how I used glue to make the process much easier! There were motifs and lettering on the backing fabric that had to match up perfectly, and the glue is the secret to doing this project. Here's the process:
Fold one of your pieces of fabric under 1/2 inch, and press, being careful not to stretch the folded area as you press. Set this piece on top of your other fabric piece, matching the pattern on both sides.
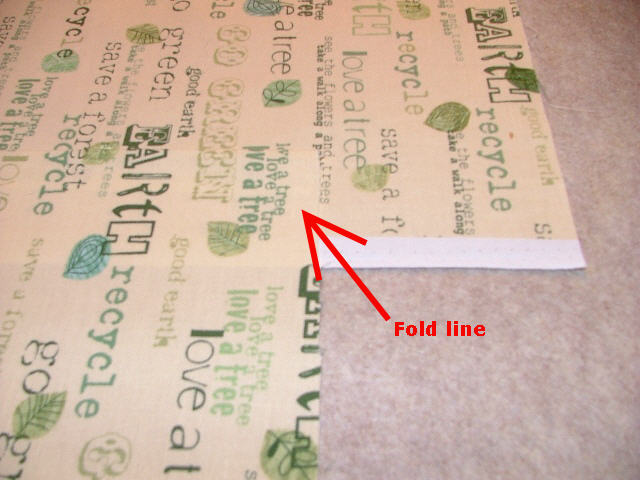
1
Working in small areas, use a small line of Elmer's School Glue on the folded portion of your fabric. Squeeze a line of glue approx. 10-12 inches long on your folded seam allowance, then set the fabric in place on top of the flat area. Press with a warm iron (no steam). This will set the glue, and keep things from sliding around. When you are sure that the glue is dry, you can turn back the edge of the fabric to check on everything. It should look like this:
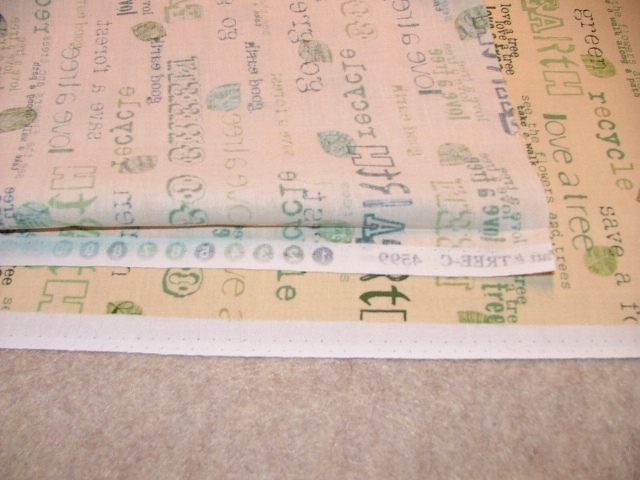
2
If you used a little too much glue, some may have leaked through to other layers.
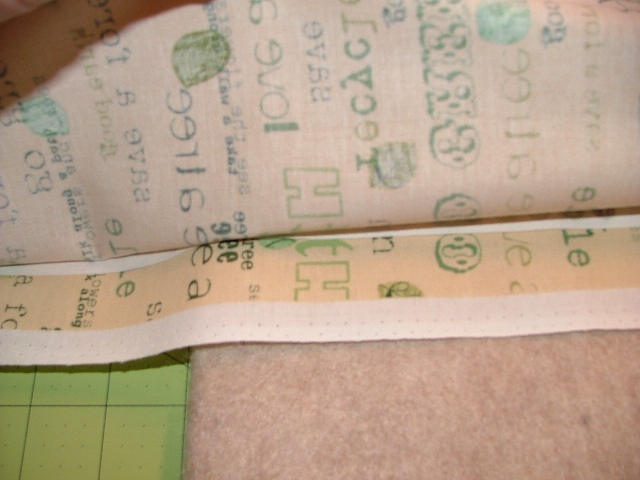
3
Don't worry! It's easy to run your finger along the area, and gently pull the glue apart.

4
If your seam is long, you may want to add a few pins along the area before you carry your fabrics to the sewing machine. The glue is fairly strong, but not enough to support a lot of weight.

5
After stitching the entire seam line, run your finger along the glued area to open the seam.

6
As you can see, the glue did a great job of holding the layers together.

7
Press the seam open.

8
The selvage edges must be removed from both pieces of the backing fabric before putting the quilt backing on the machine. You can do one side at a time with a rotary cutter, or just use scissors.

9
Turn the backing over to the right side, and press.
10
The glue really helps with the process!
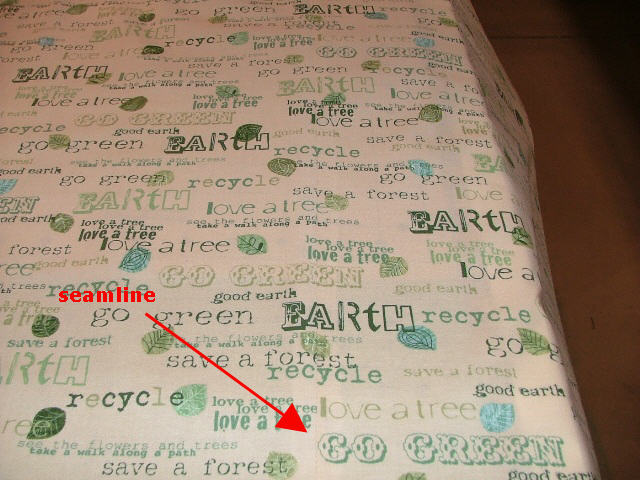
Seam close-up
Square both ends of the backing, and you're ready to quilt!